Tandem 12 Volt Battery Conversion
5 min read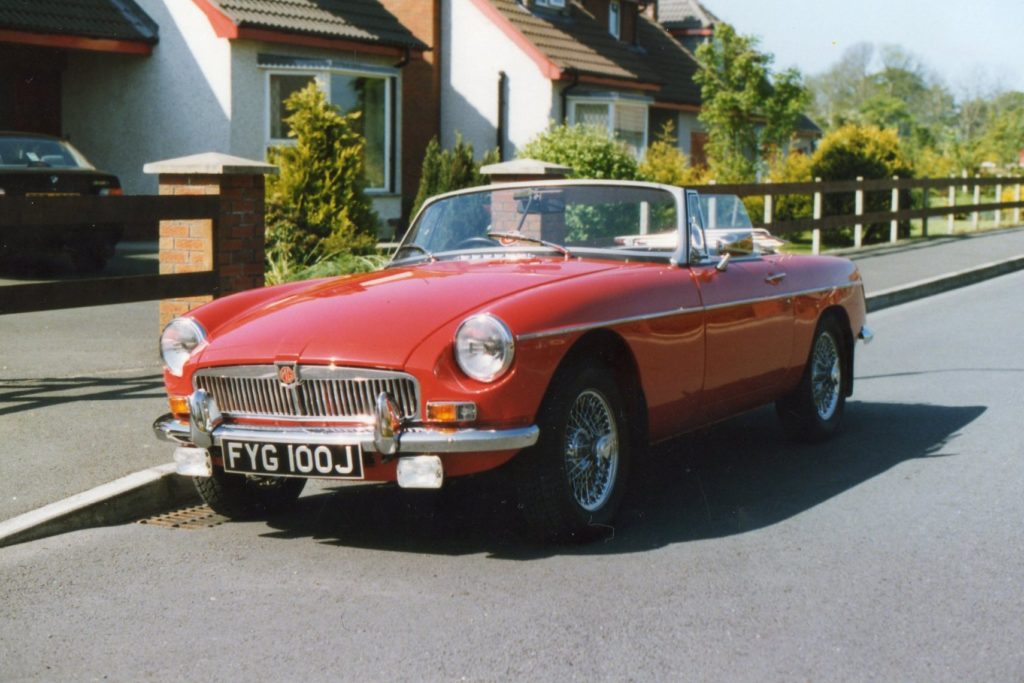
Share this
After some battery issues in my negative earth right hand drive 1972 MGB, I decided to convert the battery system from two six volt batteries to two 12 volt batteries. The batteries are now connected in parallel and not series.
Although my car had a battery conditioner connected to the two six volt batteries during the winter months one of these units proved faulty upon start up in the spring and as both batteries were the same age it seemed sensible to replace them as a pair.
A visit to my battery supplier confirmed my worst concern, the cost of two good quality hand built 60 AH six volt batteries was going to be more than the state weekly pension. The alternative was two 45 AH 12 volt batteries similar sized to the original 6 volt units and these are used in many small cc cars. Being a popular standard stocked mass produced item these two 12 volt batteries cost only a little more than one of the 6 volt units, in view of this there was no choice in what I was going for.
Replacing the two 6 volt batteries with two 12 volt is a simple procedure for many DIY car enthusiasts but as with all jobs if in doubt seek professional help.
The main point to remember is that the existing 6 volt batteries are connected in series i.e. the link wire between the batteries is connected to the + and – of each battery thus giving the 12 volts. With the tandem 12 volt battery installation they are connected in parallel i.e. + to + with the link cable, thus still retaining a 12 volt output.
WARNING: failure to do this will put 24 volts through the car electrics with very costly results.
While the installation may differ slightly from car to car depending on cable length, battery terminal clamps, etc, undernoted is the procedure I adopted on my own car and a list of the necessary components to complete the job.
1. Unclip and lift up the rear of the hood and lay over the hood frame, this allows for better access and light into the battery compartments, remove the battery covering plate, disconnect and remove the two old 6 volt batteries.
2. My batteries sit on a section of 10mm exterior varnished plywood which was retained, fit the passenger side new 12 volt battery first as it requires no alteration to the wiring. The new battery is installed with the terminals north to south with the negative pole towards the rear of the car, the existing earth cable in my case was long enough to fit but DO NOT connect it at this stage. Connect up the link wire to the positive terminal and secure the battery into the tray with the existing clamp bar.
3. Remove the driver’s side terminal clamp from the link wire, clean the copper core of the cable, flux and solder a new cable eye to the wire and this can be carried out with the cable in situ. Making sure the link wire is long enough connect this to the bolt of the existing positive terminal clamp.
4. Make up or purchase a 25cm length of earthing cable with a soldered eye and negative battery terminal clamp and connect this to the battery box frame at high level using the existing hole in the metal support frame, make sure all paint is removed from around the bolt hole to help give a good earth.
5. Install the second 12 volt battery into position and secure same, connect up the positive terminal only which you may have to angle slightly to stop the link wire connection catching the battery side.
6. At this stage you can now check each battery installation separately, loosely fit or touch the earthing cable of the passenger side battery to the negative terminal and that should power all the car’s electrics, remove this earth cable from the battery and try a similar test to the driver’s side battery. If both are working as described connect up the two earthing cables, apply Vaseline to all terminals and earthing points to body and this should prevent corrosion, the installation is now complete.
Please note if you do not have a battery isolator fitted and you wish to carry out repairs to the car YOU MUST DISCONNECT THE TWO BATTERY EARTHING CLAMPS otherwise the electrical system will still be live.
Installation Tips
1. Study your existing battery set up and check all existing cables are long enough if you are proposing to re use them, with my installation they were all ok.
2. Make sure you have all the necessary equipment, tools and extra bits and pieces before starting the installation.
3. Because you are changing the installation from series to parallel connections it is a good idea to have a roll of red and black tape and use this to mark each cable correctly.
4. As previously stated in the unlikely event you encounter a problem seek help or professional advice from others.
5. Fully charge each new 12 volt battery separately before installing into the car as they could have been in storage for a while.
An MGB will operate on one of these 45 Amp batteries but there is very little reserve especially if you have uprated headlights, a radiator cooling fan spotlights or if it is a GT and you use the heated rear window a lot also if used during the winter the cold and wet conditions will demand use of the wipers and heater blower, it’s unlikely a 45AH battery will be up to this continuous demand.
I believe the tandem 12 volt set up gives the reserve needed and with maintenance free batteries this installation should be trouble free for many years to come. Although I carried this installation out on an MGB it should be possible to adapt for any two six volt battery systems on other cars.
Undernoted is a list of the materials I used including battery type code, the installation time took about two and a half hours and the cost for everything including the two batteries was under £80.00.
- 2 nr. 12 volt batteries type 002L
- 2 nr. soldered heavy duty cable eyes
- 1 nr. 6mm bolt and nut 20mm long
- 2 nr. 6mm flat washers and 1 spring washer
- 25cm of heavy duty earthing negative cable
- 1 nr. negative battery clamp (if you can’t re-use the one removed from the link cable)
- Red and Black PVC tape
- 1 tub of Vaseline
Hoping you find this article informative if you are considering this conversion.
Noel, MG Owners’ Club Northern Ireland